Pages

Showing posts with label hoops. Show all posts

April 28, 2014

A variation on bombay hoops

Some of my favorite hoop earrings that I made are these, the bombay hoops.

I made a variation on them, with beads in one of my favorite colors.  Now these are my favorite hoops!:

The how to is very similar to the original bombay hoops.
What you need:
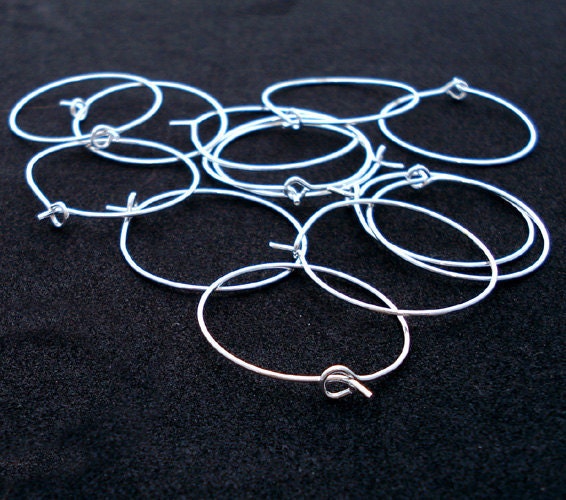
-a pair of wire hoops
-a pair of earring hooks
-a thin wire, 24 or 26 gauge (I used a fun blue wire for these).
-16 beads (8 for each earring).
-pliers
-wire cutters

First, cut a piece of thin wire, about 20 inches long.  Fold one end over the hoop and use the pliers to wrap it around the hoop tightly.
Put a bead onto the wire and loop it through, then loop the wire another 3 times, to keep with the pattern.
Continue this process until all 8 beads are on the hoop.
Be sure to wrap the wire three times after the 8th bead and use the pliers again to tighten it.
Cut the wire closely to the hoop at both ends with the wire cutters and use the pliers to wrap the remaining bit around the hoop.
Use the pliers to connect the top of the hoops.  Slightly open the bottom of each earring hook and connect one to each wire hoop.  Close the bottom of each earring hook.

And all done!


April 6, 2013

Pearl, Gold, Hoops. And time at home.

My DIY Hoops
I made the long trip home for the recent holiday break.  I've been loving living abroad, but I was missing my sisters, Mom's home-cooked meals, American clothing stores, and of course, my jewelry-making supplies.

I spent a lot of time in A.C. Moore and even more time planning what to make and then making it.
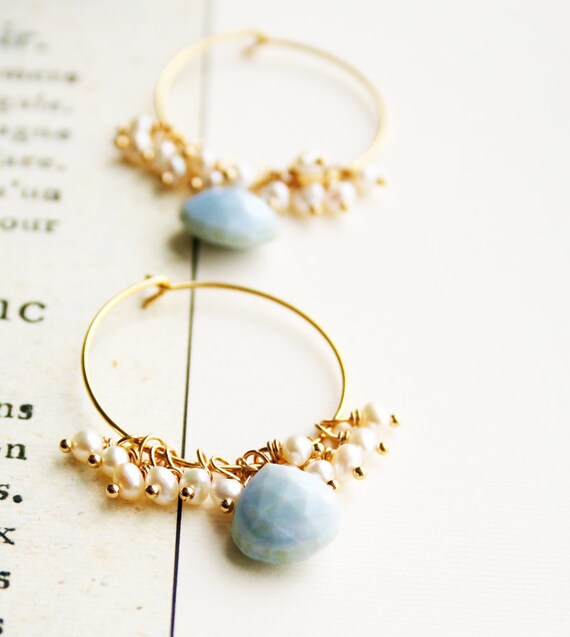
Inspiration: Earrings from here.
Perusing Pinterest, (as I spend many of my hours), I found these gorgeous earrings being sold on an Etsy site.

While I do not have the blue opal gemstone or the pearls as used by the creator of these earrings, I did find some teardrop shaped glass beads and fake pearls

So here's what you need to make your own pair:
- 2 earring hoops
- 24 small pearl beads
- 2 teardrop shaped beads
- 26 head pins
- pliers and wire cutters

3 Easy Steps
1.  Put the each pearl bead and teardrop bead on its own head pin.  Close the head pin with round-nose pliers and cut off any excess wire with the wire cutters.
2.  Slide 6 pearl beads on head pins onto the hoop, add one teardrop bead, and then another six pearl  beads.  Repeat for the other earring.
3.  Use the pliers to turn up the end of the hoops to close.  All done!

Here are my earrings:

August 15, 2012

In time for a Photoshoot


On a recent trip, I had a few different special occasions to attend.  The first occasion was a photo shoot with the entire family - we haven't done one of these in years!
Once I picked the outfit and coordinated the color scheme with the rest of the family, I went to look for jewelry to pair with it.  But I couldn't find anything that I liked with the outfit.

So, what else to do, but make a new pair of earrings to match!

I spotted these earrings, the 'Bombay Hoops,' in the Perfect Match book we own and have been meaning to make them for a long time.  This was the perfect occasion.

The gold with the black beads was a good match for my coral and black outfit.  And since it hardly took any time to make, I made a second pair of gold with gold translucent beads for my mom!

It was really simple- all you need are:
- a pair of hoops (you can make your own if you want!)
- a thin wire in the same color as the hoops (24 or 26 gauge)
- 14 glass beads (7 for each earring)
- pliers
- wire cutters

First, cut a piece of thin wire, about 14 inches long.  Fold one end over the hoop and use the pliers to wrap it around the hoop tightly.  I wrapped it 3 times here.  Put a bead onto the wire and loop it through, then loop the wire another 3 times to keep with the pattern.  Continue this process until 7 beads are on hoop, with 3 wire wraps in between.  Wrap the wire the last 3 times after the final bead.  Cut both ends with the wire cutters and use the pliers to wrap the remaining bit around the hoop.
Repeat these steps for the second earring.
This all took me around 20 minutes per pair!

August 8, 2012

Reminiscent of a Dreamcatcher..

While crafting with my mom in our 'crafting room' (we took over the family room!), we realized we didn't have enough jewelry in neutral colors.  As I love color, I tend to drift towards colorful beads/ribbons/chains...  Recently, I've been obsessed with a dark teal green color.

I spotted the earrings on the right awhile ago and have been meaning to make them for some time now.  Figuring this was my chance to apply my need for neutrals, I made a pair for myself in silver and black!

  My DIY:                                                                          Inspiration:


I used larger seed beads in my DIY than shown in the original.  Also, I did not make them as long... the original pair are 6 inches! Despite being shorter, I think they still have a nice effect and my younger sister called them 'party earrings'!

Supplies:
-2 earring hoops
-small silver seed beads
-small black seed beads
-30 silver crimp beads
-30 12inch pieces of black string
-needle
-pliers
-scissors

Like most projects, the most time consuming part was stringing all the beads.

On the hoop, I initially slid on 3 silver seed beads.
Before putting the needle on the string, I slid one black bead onto one string.  Then I folded the string in half (so the one bead was at the bottom) and put it through the needle.  I then strung 24 more black beads (25 total).  Since this is the first string, I add 6 silver beads, then the crimp bead.
Position the string on the hoop, swing the needle through so that it is attached to the hoop, and back through the crimp bead and all the way down to the black beads.
Used the pliers to crimp the crimp bead.  Make sure the crimp bead is secure and the string cannot slip through it whatsoever.
Repeat this process.  Here is an image to better show the number of beads I used:

             
I only had time to draw out half the earring.  But, the silver beads increase and then decrease in (from left to right) as follows:
6 --> 7 --> 8 --> 9 --> 10 --> 11 --> 12 --> 13 --> 12 --> 11 --> 10 --> 9 --> 8 --> 7 --> 6

The black beads remain at a constant 25.

Once all 15 strands are on and the crimp beads are pressed tightly, add 3 silver beads to the end, like at the beginning.

Cut the remaining string close to the bead so that it cannot be seen.

That's all!

I made 3 more pairs of earrings this week, but posts for those will have to wait until after vacation.
Now, off to Vancouver!


July 20, 2012

Oh, the Possibilities!


Earlier this year, I bought a pack of plain wire hoops from ACMoore.  It took some brainstorming and playing around, but I ended up making three different pairs of beaded hoops for myself.

You can buy a pack of hoops like this, or make your own from a thicker wire.
Pick out some pretty glass beads - ideally that stick out from your hair color! - and some plain spacer beads (in gold, silver, clear, or any other color, really!).
Put the beads you want to hang from the hoop on head pins.  For a tutorial on how to do this, look here.

I made two styles of earrings from the wire hoops. For the first, i put the hoop itself directly into my ears.  This way the hoop itself is parallel to my face.  On the second style, I attached an earring hook to the top of the hoop. By adding the earring hook, the hoop now sits perpendicular to my face - it faces forward instead of sideways.

Check out the three pairs that I made: Which do you like best?